Heliamphora get a reputation for being fussy, but repotting them is mostly about having the right materials laid out before you start. This is how we do it at Trapped Nursery. Prefer to watch? Both parts of the reel are right here (or on Instagram: Part 1, Part 2).
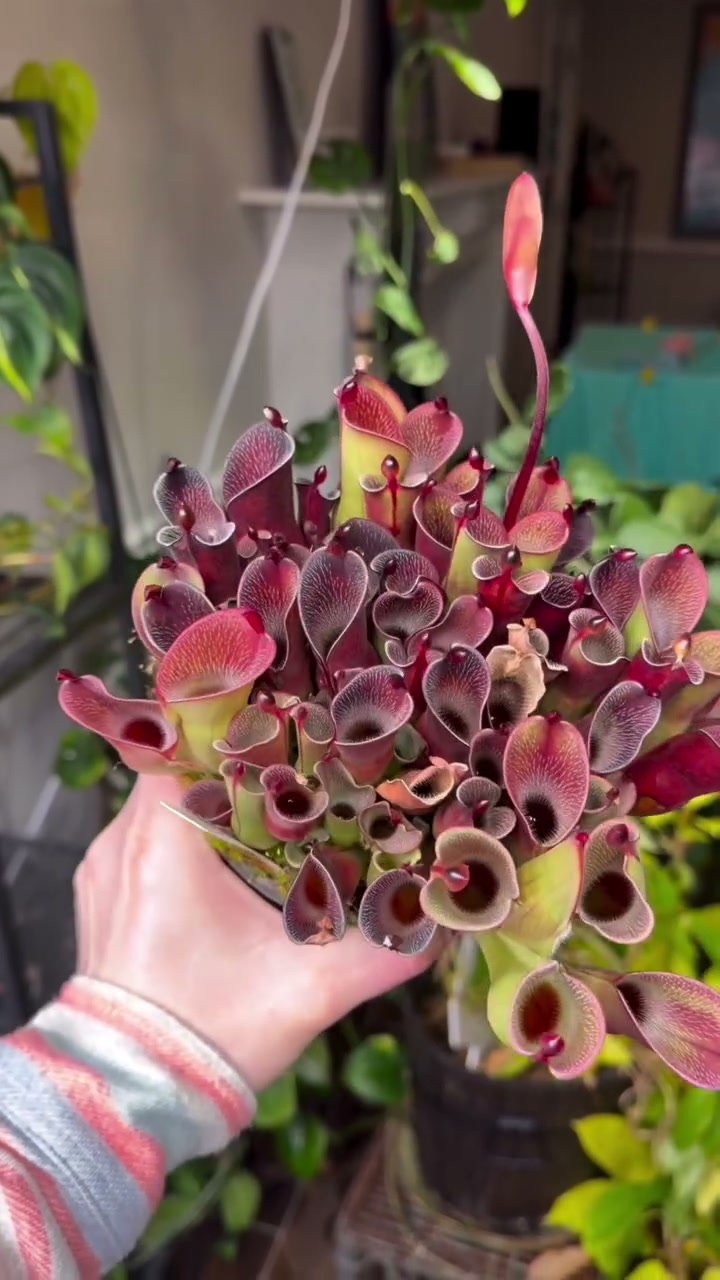
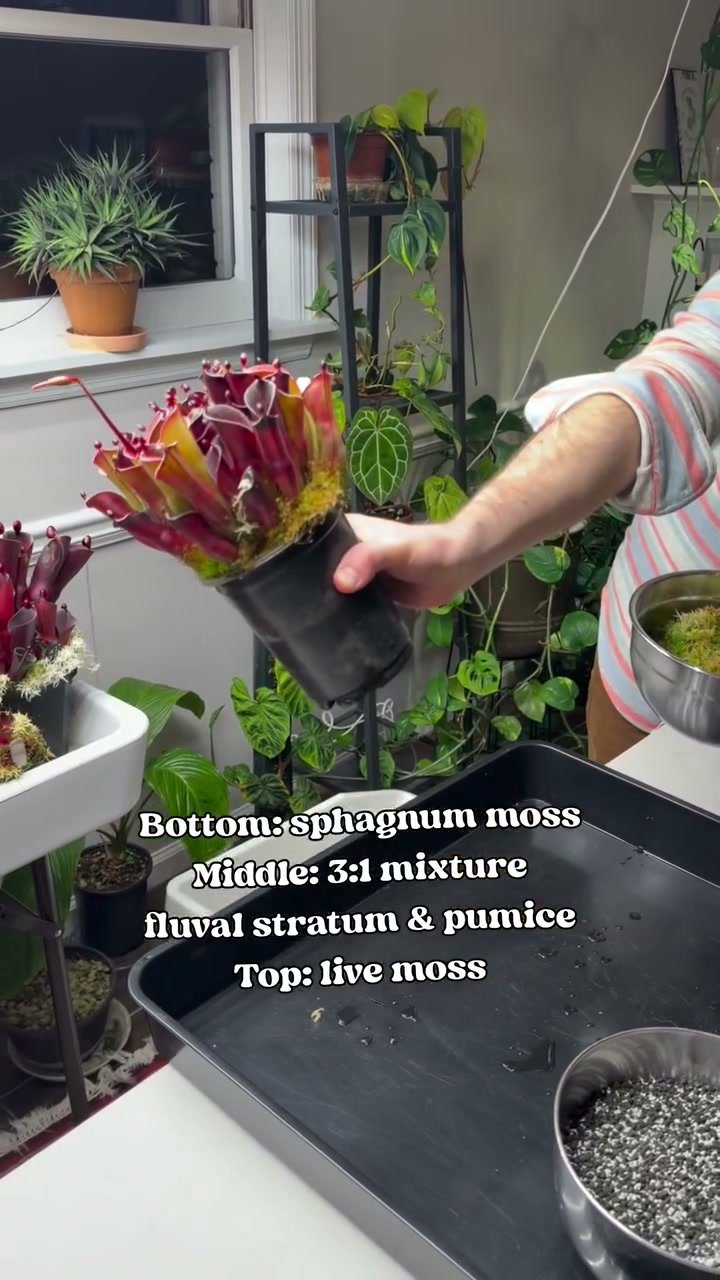
The potting layers
Bottom: long-fiber sphagnum. A base layer of long-fiber sphagnum wicks water up through the pot (helpful if, like us, you're not great at watering) and keeps the mix from falling out of the drainage holes. Maybe controversial, but it works.
Middle: 3:1 Fluval Stratum and pumice. This is the main mix and it has worked really well for us. A bonus: Stratum comes off the roots easily the next time you repot.
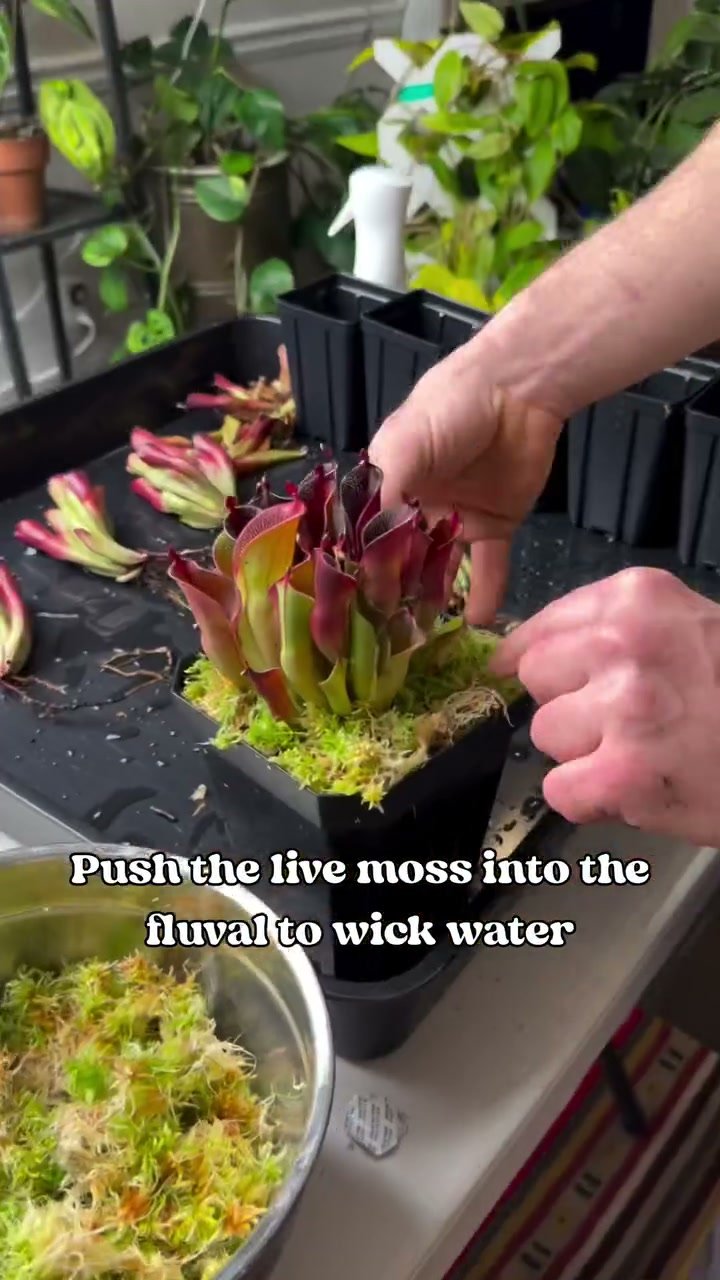
Top: live sphagnum. Ben grows it (we sometimes sell it at shows). It keeps the surface moist and shuts out star moss, which otherwise takes over and smothers new growth. Push the live moss down into the Stratum so it can wick water.
The unpot
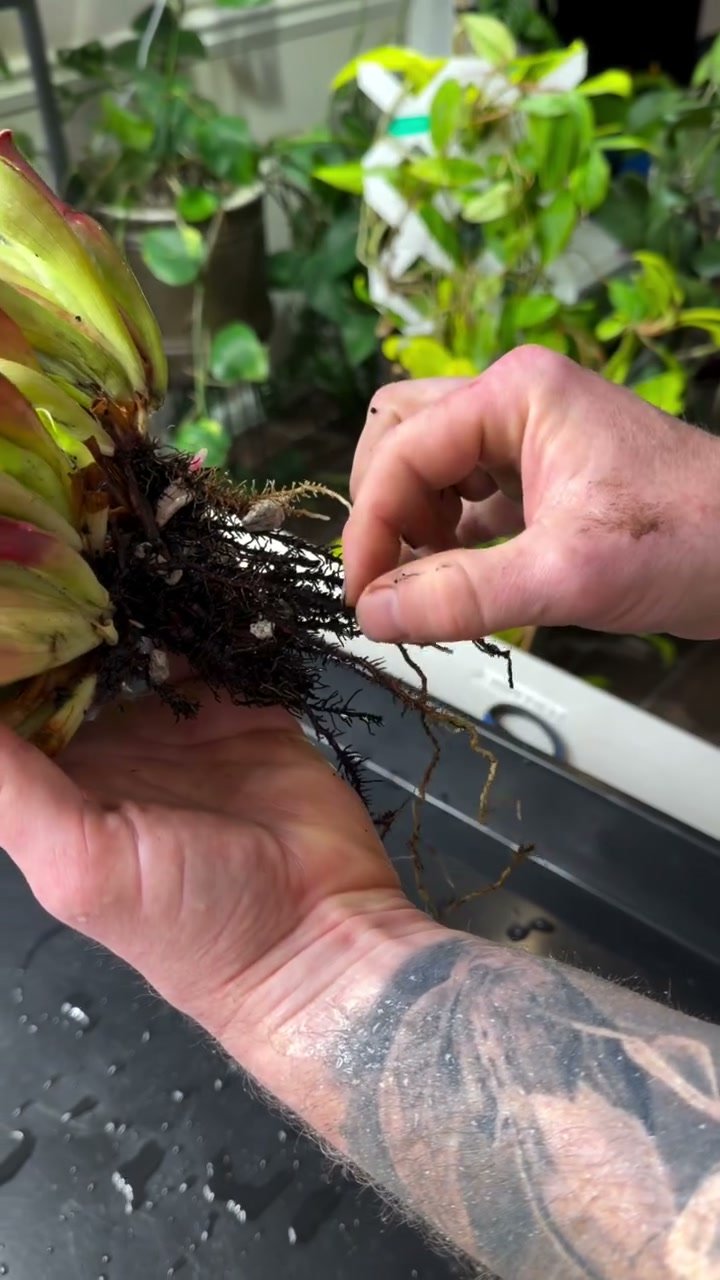
Heliamphora pitchers are brittle, so go carefully. Pull out any star moss first, then give the pot a squeeze — usually the plant pops right out. Rinse the roots so you can see what you're working with. Healthy roots are dark and wiry; a few rotten ones aren't a big deal.
Rip, repot, recover
Pull off dead pitchers and anything you don't like the look of. You don't have to be precious about it.
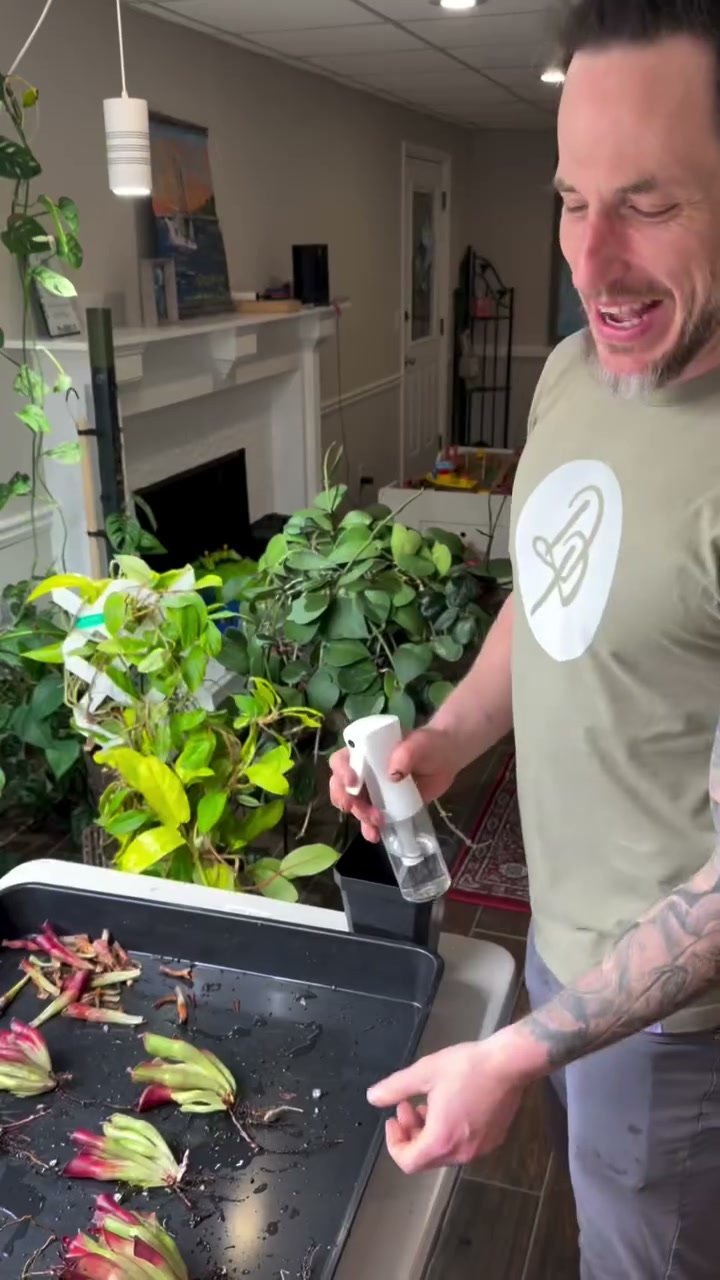
To divide, look for natural divisions — growth points that already want to separate — and simply pull them apart. If a piece doesn't want to come apart, don't force it. From this one plant we got six divisions plus a mother plant with three growth points we left together.
Treat the broken surfaces with a quick spray of hydrogen peroxide so the cuts don't invite infection.
Aftercare
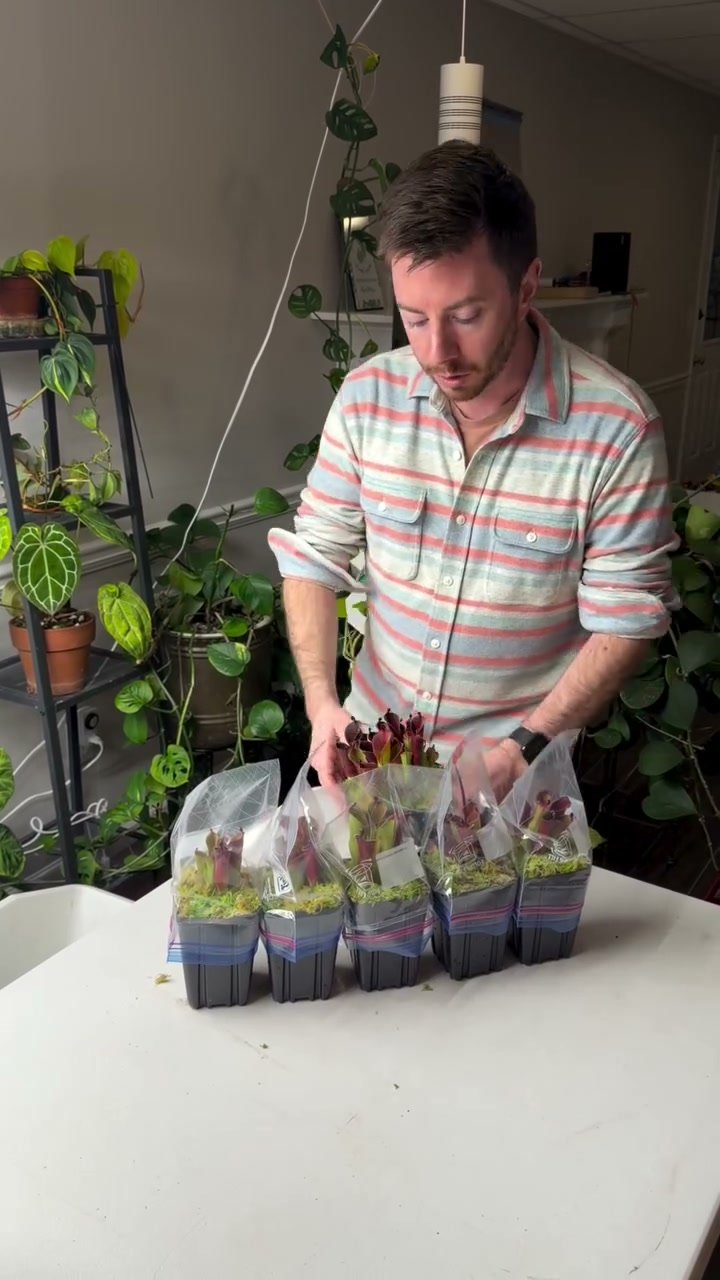
Divisions with only a few roots go into clear bags so they hold humidity while they establish. Over time we cut the corners of the bags to wean them down to ambient humidity, then take the bags off. Mother plants with plenty of roots go straight back onto the tray — no bag needed.
For how we grow them day to day, see our Heliamphora care guide.